
REVIEW · DURBAN CITY AND BEACHFRONT TOURS
From Durban: Isandlwana Rorkes Drift Battlefields Day Trip
Battlefields tell stories fast, if you let them. This day trip from Durban takes you into KwaZulu-Natal to stand where the Anglo-Zulu War unfolded, with Isandlwana and Rorke’s Drift as the main stops. I like how the route moves in order, so you start with the big clash, then see how the British regrouped. I also like the museum stops that make the chaos feel less random. One consideration: it is a long day, and the driving can be a grind.
What makes this experience click is the way the sites are tied to the details. You get the who, what, and why behind the fighting, including the scale of the forces and the uneven weapons technology that shaped the outcome. You’ll also get stories through the lens of the mission station defense, not just a quick photo stop. Just plan for a full day on your feet, and remember lunch is not included.
In This Review
- Key Points You Should Know Before Going
- A Long Day North of Durban, Built Around One Turning Point
- Isandlwana Battlefield and Museum: The Day the British Line Broke
- Rorke’s Drift: When the Story Turns to Defense
- Fugitives Drift and the Queens Colours Memorial: The Aftermath Gets Physical
- Guides Make or Break the Day: What to Look For
- Price and Value for a $198, 14-Hour Battlefield Tour
- How the Day Flows, Stop by Stop
- What to Bring So You Don’t Fuss Mid-Tour
- Pickup, Timing, and Comfort on a Full-Day Route
- Who This Tour Is Best For
- Should You Book This Isandlwana and Rorke’s Drift Day Trip?
- FAQ
- How long is the Isandlwana and Rorke’s Drift day trip?
- What is included in the price?
- Is lunch or drinks included?
- Is the Isandlwana entry fee included?
- Where do pickups take place?
- What languages is the tour offered in?
- Is the tour wheelchair accessible?
- Can I get a full refund if I cancel?
Key Points You Should Know Before Going
- Isandlwana first, then the aftermath, so the timeline stays clear.
- Rorke’s Drift next, which helps you understand what happened immediately after the defeat.
- Museums and memorials add context, so you’re not just looking at fields.
- Pro guides on the ground, including names like Thani, Bafana, and Aaron, who tend to explain the battle clearly.
- Bring patience for the drive, because it’s a 14-hour day trip.
More of Durban, beachfront to curry counter
- Durban: 30-Minute Harbor Boat Cruise★ 4.7 · 665 reviews
- Durban: 1-Hour Boat Cruise from Wilson’s Wharf★ 4.7 · 496 reviews
- Durban Point Waterfront: Luxury Canal Boat Cruise★ 4.4 · 298 reviews
- Durban: Pontoon Boat Harbor Cruise★ 4.4 · 182 reviews
A Long Day North of Durban, Built Around One Turning Point
This is not a quick “see the sights” tour. It’s a focused history day, built around the Anglo-Zulu War and the sequence of events in January 1879. The basic flow is simple: you head north from Durban, visit the major battlefield sites with related museums and memorials, then return late to the city.
The value here is how the day is structured. When battlefield history is done well, you don’t just memorize dates. You start to connect terrain, decisions, and consequences. That connection is what makes these places so intense, and it’s also what makes the tour feel worthwhile if you actually care about understanding the story.
A possible drawback is also part of the package: you’re committing to a 14-hour day. If you’re the type who gets cranky after hours in a vehicle, you’ll want to prepare for that. The countryside is beautiful, but the clock still keeps ticking.
Isandlwana Battlefield and Museum: The Day the British Line Broke
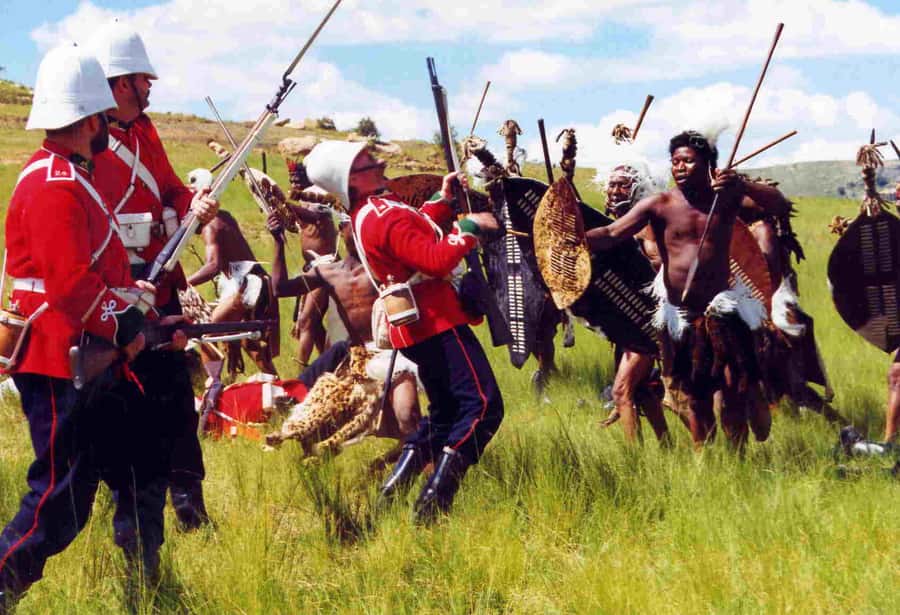
Your first major stop is the Isandlwana battlefield and museum, centered on the Battle of Isandlwana on 22 January 1879. This is often described as the first major encounter in the Anglo-Zulu War between the British Empire and the Zulu Kingdom, and for good reason.
Here’s what the historical context looks like on the ground. About eleven days after the British began their invasion of Zululand, a Zulu force of roughly 20,000 warriors attacked a portion of the British main column. That targeted part included around 1,800 British, colonial, and native troops, and there may have been up to about 400 civilians attached to the area.
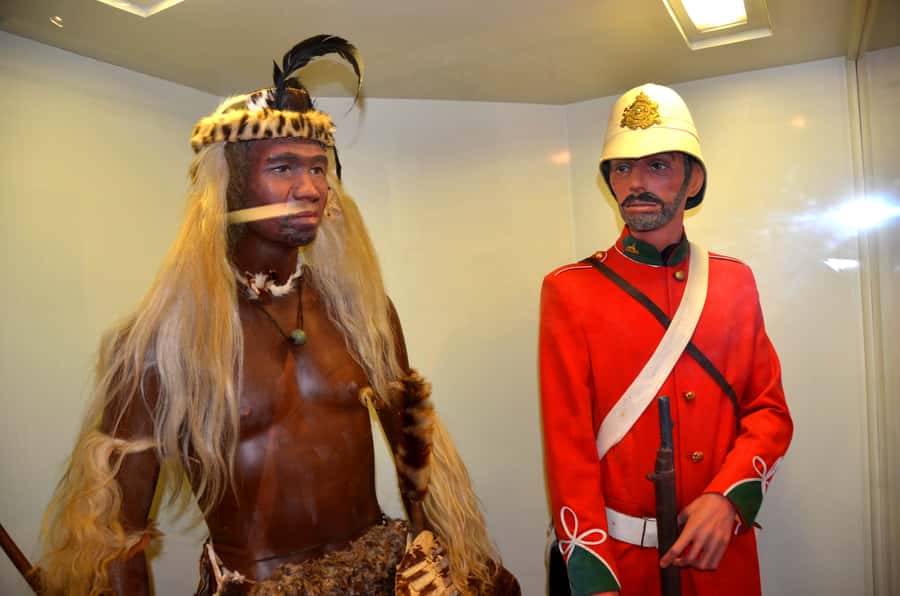
What’s striking is how the battle’s outcome reflects more than just numbers. The Zulu warriors were largely equipped with traditional assegai iron spears and cow-hide shields. Some had muskets and older rifles, but they were not formally trained in using them. That mismatch in weapons technology mattered, but the real takeaway is that leadership and deployment problems can outweigh technical advantages. In other words, you’re looking at a disaster that did not need to happen the way it did.
The museum component is the part I’d prioritize if you don’t know much before you arrive. Standing in the wrong kind of place without context can feel like you’re staring at grass and imagining noise. The museum helps you build your bearings first, then you can walk the battlefield with your mind already running the timeline.
Practical note: the Isandlwana fee is not included in the ticket, even though entry fees are otherwise listed as included. If you want zero surprises, plan for a small additional cost tied to this particular site.
Rorke’s Drift: When the Story Turns to Defense
After Isandlwana, the tour moves to Rorke’s Drift, also known as the Defence of Rorke’s Drift. This stop matters because it happens right after the defeat at Isandlwana, beginning immediately after 22 January 1879 and continuing into the following day.
In plain terms, this is where the narrative changes. Instead of a battle where the British lose badly, you’re watching a desperate defense of a mission station. That shift is useful for your understanding of the war because it stops the history from becoming a single tragic page. You see how the conflict moved, how momentum shifted, and how survival and organization played out in real time.
The mission station setting is also a reminder that these events weren’t happening in a vacuum. People were living, working, and making choices in the middle of war. Even if you’re focused on military strategy, you’ll probably feel this stop more personally than you expect, because defense is about protecting something specific, not just winning.
If you’re a history lover, this is a strong second act. The day starts with the big rupture at Isandlwana. Then Rorke’s Drift shows the immediate reaction and the next phase of the conflict. Together, the pairing makes more sense than visiting either site alone.
Fugitives Drift and the Queens Colours Memorial: The Aftermath Gets Physical
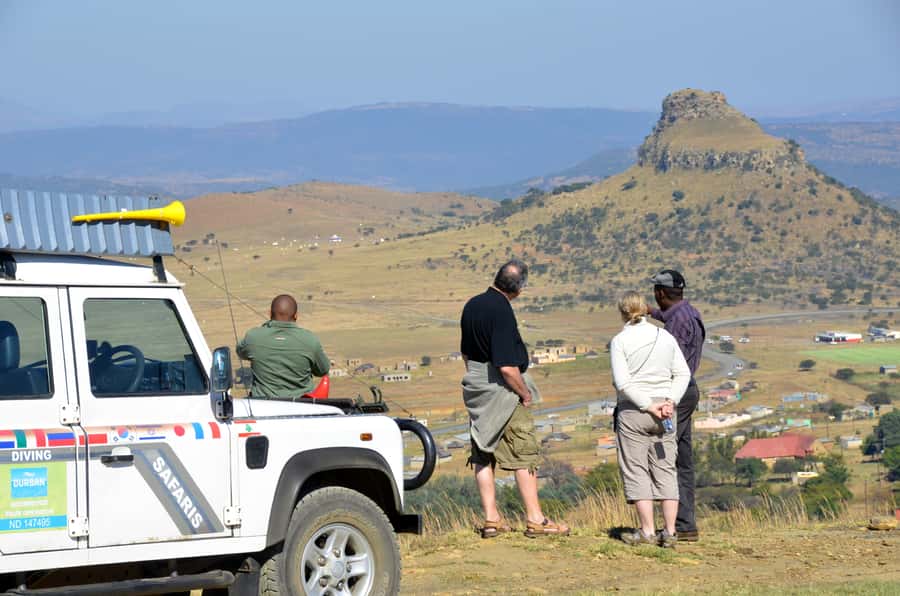
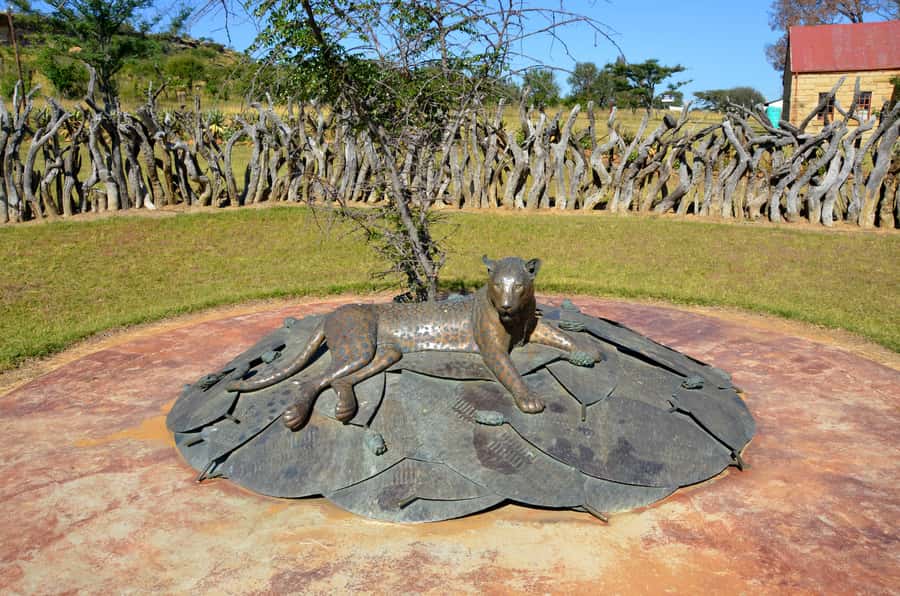
The final battlefield-related stops are Fugitives Drift and the Queens Colours memorial before you start heading back to Durban.
These stops are important because they keep the day from feeling like just two major highlights. After big battles, history often gets reduced to the moment of impact, but what follows is where communities and identities keep getting reshaped. Memorials help you slow down and connect what you saw earlier to what the battle meant afterward.
Fugitives Drift is also a name that grabs your attention because it implies motion under pressure. Even when you don’t know the finer details ahead of time, the stop acts like a reminder that warfare creates real human movement, real fear, and real consequences. You’re not just studying tactics, you’re seeing how events ripple.
The Queens Colours memorial adds another layer, tied to remembrance. Memorial sites are not about changing what happened. They’re about making sure you remember how much was lost, and why the story continues to be told.
If you’re the kind of traveler who likes to understand how visitors are meant to process history, this is the part of the tour that often works best. You finish with a grounding sense of why people keep returning to these places.
Other battlefield and heritage routes in KwaZulu-Natal


Guides Make or Break the Day: What to Look For
This trip runs with a live tour guide and professional transport. The guides listed for this route in past experiences include names like Thani, Bafana, and Aaron, and the common thread is clear: the explanations make the long drive and long day feel justified.
When a guide is good, you don’t get a lecture that floats above the land. You get explanations that match where you are. That might mean helping you visualize the British column’s situation around Isandlwana, or clarifying what defense at Rorke’s Drift actually required once the battle continued into the next day.
The tours also come with multiple language options. You’ll typically find English, Greek, Portuguese, and French. And if you need something else, German and Polish can be requested. If language matters to you, confirm it when you book, because the quality of a history tour depends on following every key moment.
One more detail worth knowing: there’s an option for a qualified historian on request with an extra fee. If your goal is deep historical context and you have the budget, it can be a smart upgrade. If you just want a well-paced, solid explanation, the included guide may be enough.
Price and Value for a $198, 14-Hour Battlefield Tour
At $198 per person for a 14-hour day trip, you’re paying for more than sightseeing. You’re paying for a full-day logistics package, plus on-site access tied to the battlefields and related facilities.
The “value” part looks like this:
- You get transport and a professional guide for the whole day.
- Entry fees are listed as included overall.
- You get multiple stops, not just one battlefield.
That said, there’s one important caveat. The fee for Isandlwana is not included in the ticket. So you should treat the posted price as a baseline and expect a small add-on for that site.
Also, lunch and drinks are not included. That’s normal for a day trip, but it changes what you should budget and how you plan. If you skip lunch, you can end up paying for it in energy and patience, especially with a long drive. If you bring snacks, you’ll likely feel better by the afternoon.
Bottom line: if you want the Isandlwana and Rorke’s Drift pairing with museum context, $198 can feel fair because you’re not piecing together multiple visits yourself. If you only want one battlefield site, you might feel like the price is higher than you expected, because you’re paying for the full arc of the day.
How the Day Flows, Stop by Stop
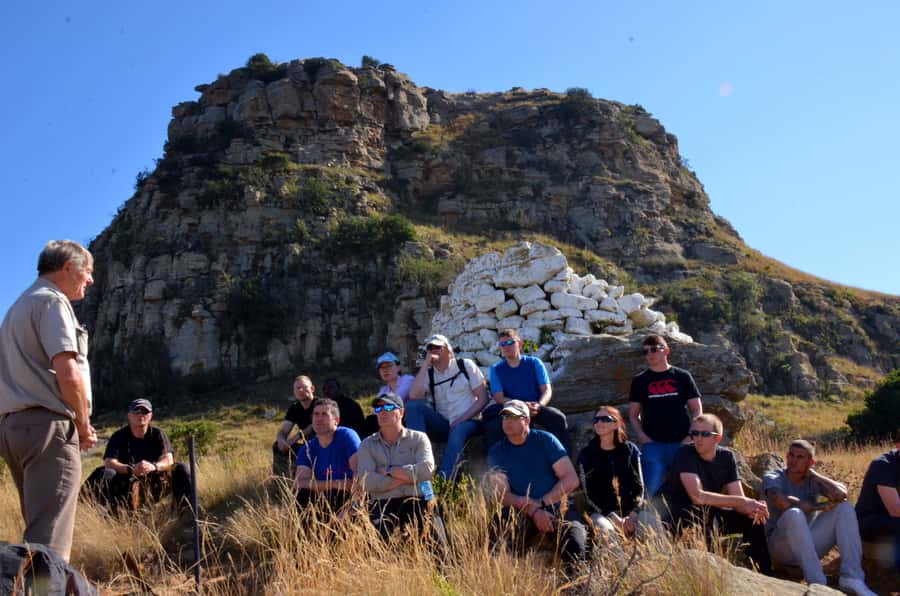
Here’s what the itinerary feels like in practice, based on how the tour is designed.
First comes Isandlwana battlefield and museum. This is where you build the timeline and learn the core figures, including the scale of the Zulu force and the size of the British portion attacked. This is your “set your mind” phase. If you do not read or listen to the key details here, you’ll miss the story later.
Then you head to Rorke’s Drift. This is your “shift in mood” phase. The fighting continues into the next day, and you focus on defense of the mission station rather than a single moment of attack. It’s a good contrast to the first stop.
After that, you go to Fugitives Drift and the Queens Colours memorial. Think of these as your “aftermath and remembrance” chapter. You end with meaning, not just action.
Finally, you return to Durban. Since the tour runs about 14 hours, plan your expectations accordingly. You’ll want to start the day rested, wear comfortable shoes, and treat the day like a full historical excursion, not a quick outing.
What to Bring So You Don’t Fuss Mid-Tour
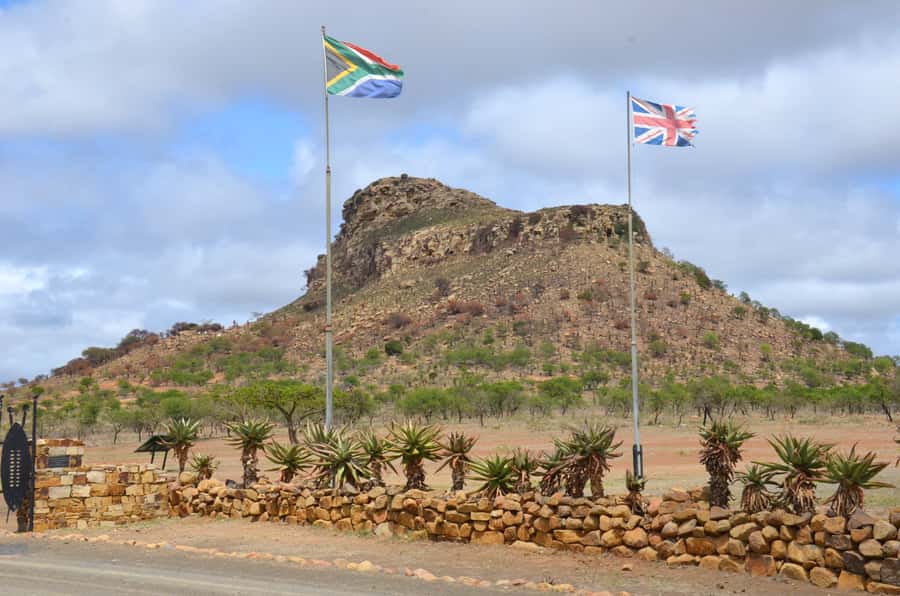
This tour is mostly about walking and standing around significant sites. You’ll feel more comfortable if you pack for the basics:
- Comfortable shoes
- Sunscreen
- Comfortable clothes
Weather matters. Even if you’re not expecting heat, you’ll likely be outside at least some of the time. Sunscreen is an easy win. Comfortable clothes keep you focused on what you’re learning instead of what you’re uncomfortable in.
Also, because the day is long, think ahead about water and snacks. Drinks are not included, and lunch is not included either. If you prefer to keep it simple, you can plan to buy food along the way, but you’ll still want a strategy so you’re not hunting last minute when you’re tired.
Pickup, Timing, and Comfort on a Full-Day Route
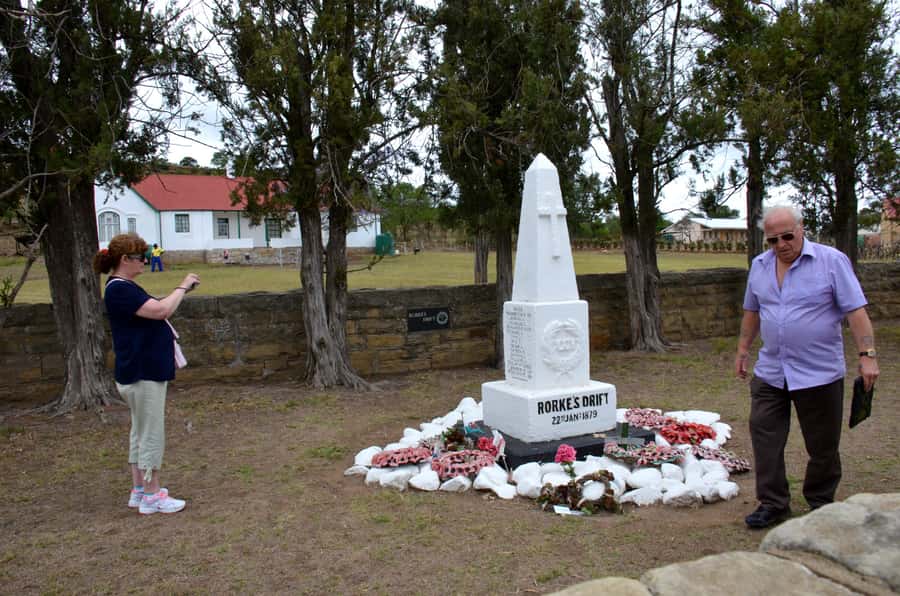
Pickup is included, and it’s centered in Durban. Pickup is possible from hotels or accommodations within a 5 kilometer radius of the tour supplier’s office at Gooderson Tropicana Hotel, 85 O R Tambo Parade, South Beach. Pickup is also available from the Harbour passenger terminal.
The tour is wheelchair accessible, but if you use a wheelchair, you should inform the local partner prior to the start of the tour. That sort of heads-up is what prevents awkward delays.
Language options include English, Greek, Portuguese, and French, with German and Polish possible if requested. For history tours, language access matters because you don’t want to miss the key interpretations.
And yes, it’s a long drive. Past experiences highlight that the countryside can be beautiful, but it still eats time. If you hate motion sickness, consider prepping for it.
Who This Tour Is Best For
This day trip is a great fit if:
- You care about the Anglo-Zulu War and want a guided, story-driven route.
- You like pairing battlefield sites with museums and memorials.
- You want a clear sequence from Isandlwana to Rorke’s Drift to the remembrance stops.
It’s less ideal if:
- You only want a quick stop for photos and you are not interested in the historical context.
- You dislike long days with lots of driving.
- You don’t want to manage your own lunch and drinks during the 14-hour schedule.
If you’re visiting KwaZulu-Natal and want something that feels connected to the region’s past, not just scenic stops, this tour gives you that kind of focus.
Should You Book This Isandlwana and Rorke’s Drift Day Trip?
I’d book it if your priority is understanding how the Anglo-Zulu War played out at two of its most famous moments, with museum context and memorial stops that help you process more than just the battlefield names. The best reason is the pairing itself: Isandlwana shows the major rupture, and Rorke’s Drift shows the immediate defensive response. That sequence gives you a fuller picture.
Skip it or think twice if you’re short on time, sensitive to long driving days, or expecting lunch and drinks to be handled for you. Also, plan for the Isandlwana fee not included note, so your budget stays steady.
One last practical tip: wear your history-hiking shoes and give yourself permission to slow down at the museums and memorials. This tour works best when you treat it like learning, not like rushing from one landmark to the next.
FAQ
How long is the Isandlwana and Rorke’s Drift day trip?
It runs for 14 hours.
What is included in the price?
The tour includes all entry fees and transport with a professional tour guide.
Is lunch or drinks included?
No. Lunch and drinks are not included.
Is the Isandlwana entry fee included?
The Isandlwana fee is not included in the ticket.
Where do pickups take place?
Pickup is possible from hotels or accommodations within 5 kilometers of the local supplier’s office at Gooderson Tropicana Hotel on O R Tambo Parade in South Beach. Pickup is also available from the Harbour passenger terminal.
What languages is the tour offered in?
The live tour guide is available in English, Greek, Portuguese, and French. German and Polish can be requested.
Is the tour wheelchair accessible?
Yes, the tour is wheelchair accessible, and you should inform the local partner prior to the start of the tour.
Can I get a full refund if I cancel?
Yes. You can cancel up to 24 hours in advance for a full refund.
Battlefields and Zulu Heritage: More Routes
- Isandlwana, Rorkes Drift and Fugitives Drift Battlefields Day Tour from Durban
- Mini Safari and Zulu Cultural experience – Day Tour
- Shakaland and Zulu Culture Full-Day Trip
- Zulu Cultural Experience: Zulu Village + Tribal Markets + Traditional Zulu Food
- Zulu Cultural Experience – Tour to the village of iSithumba and PheZulu
Durban: More Along the Golden Mile
Keep going: the rest of our Durban write-ups
- Discover Durban on our Durban City Day Tour
★ 5.0 · 3 reviews - 2 Day Drakensberg Mountains & Tala Game Reserve Tour From Durban
★ 5.0 · 3 reviews - Valley of a Thousand Hills – Durban
★ 5.0 · 3 reviews - Full Day Hluhluwe Imfolozi Game Reserve From Durban
★ 5.0 · 3 reviews - Private Guided Cultural Day Tour of Zulu Village & PheZulu Safari Park
★ 5.0 · 3 reviews - Durban: Half Day Phezulu Safari Park and Durban City Tour
★ 4.6 · 3 reviews
Durban City and Beachfront Tours, compared.
 ★ 4.7Durban: 30-Minute Harbor Boat CruiseFrom $7665 reviews
 ★ 4.7Durban: 1-Hour Boat Cruise from Wilson’s WharfFrom $11496 reviews
 ★ 4.4Durban Point Waterfront: Luxury Canal Boat CruiseFrom $9298 reviews
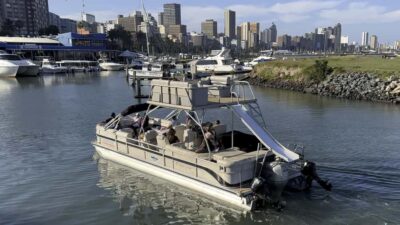 ★ 4.4Durban: Pontoon Boat Harbor Cruise182 reviews
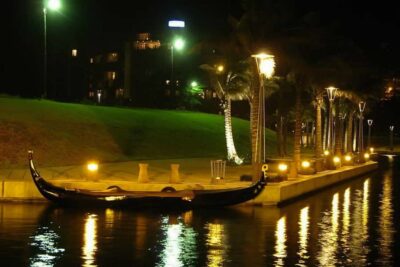 ★ 4.8Durban: Gondola RideFrom $12159 reviews
 ★ 4.1From Durban: Half-Day Safari TourFrom $193141 reviews
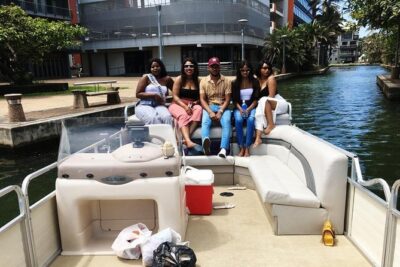 ★ 4.5Luxury Canal Boat Cruise – Fun Things Durban UshakaFrom $8125 reviews
 ★ 4.5Half Day Safari Tour from DurbanFrom $171121 reviews
Browse the lists this tour appears in