
REVIEW · TABLE MOUNTAIN TOURS
Cape Town: Table Mountain Hike via India Venster Morning
India Venster makes Table Mountain feel wild. I love the steep, hands-on scramble that turns a famous viewpoint into a real climb, and I also like how the guide connects the route to Fynbos and local natural history. The main catch is that this is not an easy stroll, especially in the first stretch and in the rock sections later.
You start right behind the lower cable station, so there is no long warm-up lag. I also like that the trip is built around clear wayfinding, photo moments like the Venster window, and a planned break for biltong. If you are afraid of heights or have knee or hip replacement history, this one may be a no-go.
In This Review
- Key Points Before You Hike India Venster
- Entering Table Mountain From the Lower Cable Station
- The First 15 Minutes: Steep Work Right Away
- Contour Path at 480m: Cape Town Views and Layer-Switching
- The Venster Window and the India Venster Photo Stop
- Tackling the Amphitheater Base: Scrambling, Pitches, and Chains
- Biltong Break on the Grassy Terrace
- Final Ledge Views and the Last Ascent to the Plateau
- Cable Car Down: Quick, Practical, and Not Included
- What You Get for the $110 Price
- Gear and Safety: What Really Matters on This Route
- Who Should Book This Table Mountain Scramble, and Who Should Skip
- Should You Book the Cape Town India Venster Morning Hike?
- FAQ
- How long is the Table Mountain hike via India Venster?
- How much does the tour cost?
- Where do I meet the guide for this hike?
- Is cable car included?
- Do I get hotel pickup and drop-off?
- What is included in the price?
- What should I bring with me?
- Is this hike suitable for kids?
- What fitness level do I need?
- What languages are available for the guide?
Key Points Before You Hike India Venster
- Steep ascent early on: the first 15 minutes are the toughest, and you are encouraged to go slow until your legs settle.
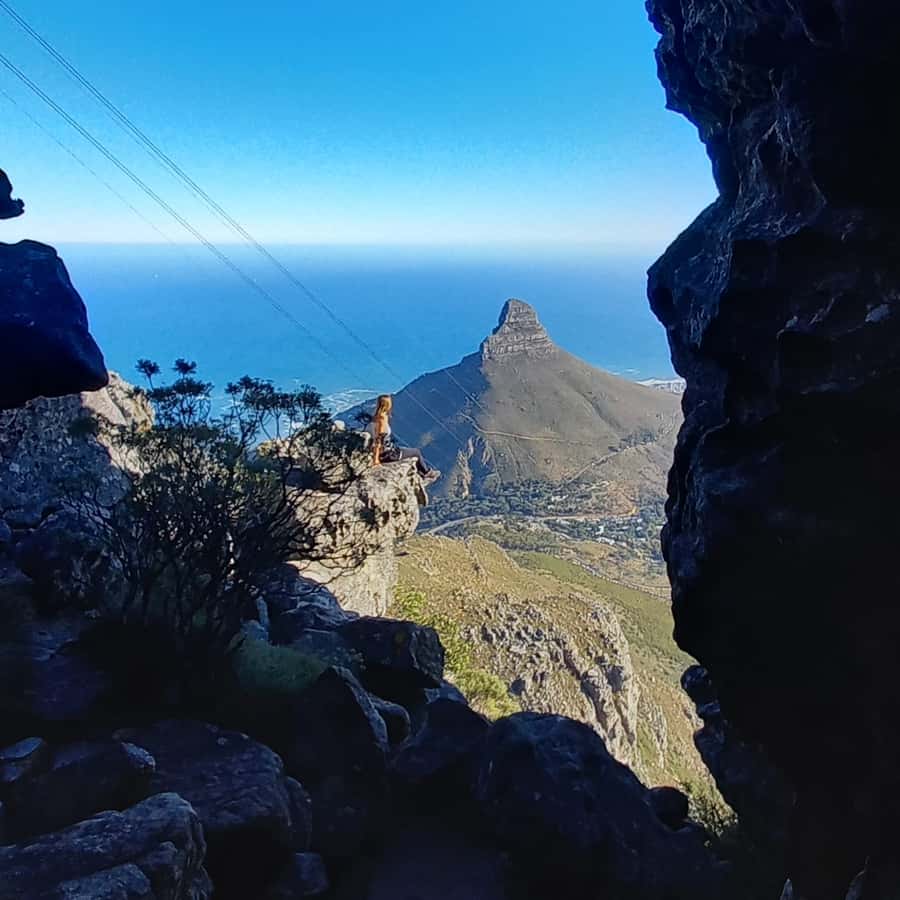
- 480 meters contour path viewpoints: you can catch Cape Town, Lion’s Head, and Signal Hill views before the route steepens again.
- India Venster photo stop: look for the Venster window on the left in the gully for a classic Table Mountain rock-formation shot.
- Real scrambling and rock pitches: the route includes moderate scrambling, plus sections with staples and chains for extra security.
- Fynbos and Table Mountain flora focus: you get educated along the way, not just dropped at viewpoints.
- Biltong break with boulder-field navigation: you cross boulders using cairns and then stop for biltong before the final climb.
Other ways up Table Mountain, side by side
- Zipline Cape Town – From Foot of Table Mountain Reserve★ 5.0 · 3,179 reviews
- Cape Town: Table Mountain Cable Car, Hop-On Hop-Off Bus Tour★ 4.6 · 3,157 reviews
- Table Mountain, Penguins & Cape Point Small Group Tour Cape Town★ 4.5 · 1,797 reviews
- Cape Town Tour: Table Mountain, Penguins & Cape Point+Pickup★ 4.7 · 1,671 reviews
Entering Table Mountain From the Lower Cable Station
This hike starts behind the lower cable station area at Table Mountain, with the guide meeting you at the Vida e Caffè store. It is a smart setup because you get moving quickly and you are not wasting your morning on long transfers.
The experience is designed for people who want a more challenging route than the most casual Table Mountain options. The walking is only part of it. You will also do scrambling and climbing on rocky terrain, which means you need steady footing more than just endurance.
Your guide is a registered hiking professional with 15+ years of experience. In feedback from the trail, guides like Patrick have been praised for sharing practical route knowledge and for explaining the flora, fauna, and local history as you go. That matters because the mountain can feel like a pile of rocks if you do not know what to look at.
The First 15 Minutes: Steep Work Right Away
Right at the start, you get a short period that is described as the hardest. Those first 15 minutes are steep, and you are encouraged to move slowly until you reach the contour path.
I like this approach for two reasons. First, it is honest. You know early you are in a workout. Second, it helps prevent the usual mistake of burning out too fast. If you keep your pace controlled here, the rest of the climb feels more manageable.
You will also be watching for the first “pause your brain” moment as the terrain eases into the contour path at 480 meters above sea level. That is where the views start to show, which helps make the effort feel worth it.
Contour Path at 480m: Cape Town Views and Layer-Switching
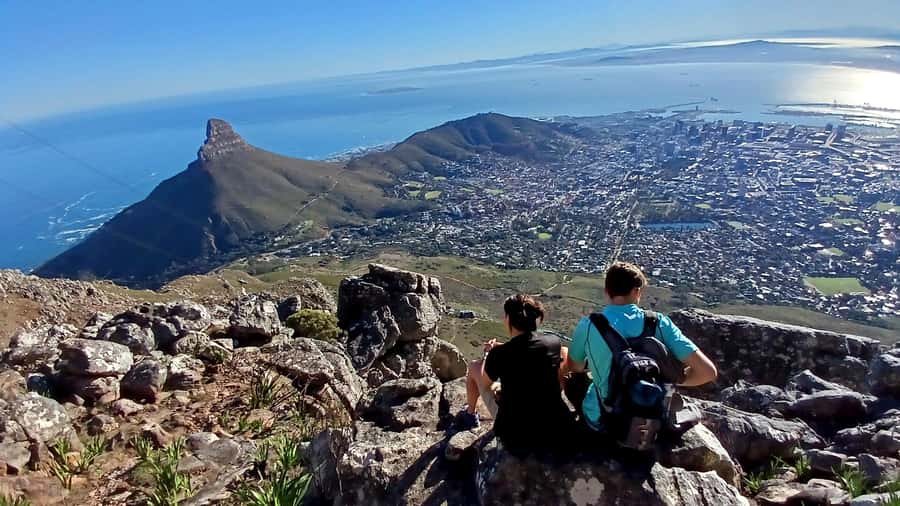
Once you reach the contour path, the vibe shifts from grind to panorama. The route is known for letting you take a breather and, if you brought layers, this is often the spot to remove some and adjust. The air can feel different once you get up and exposed.
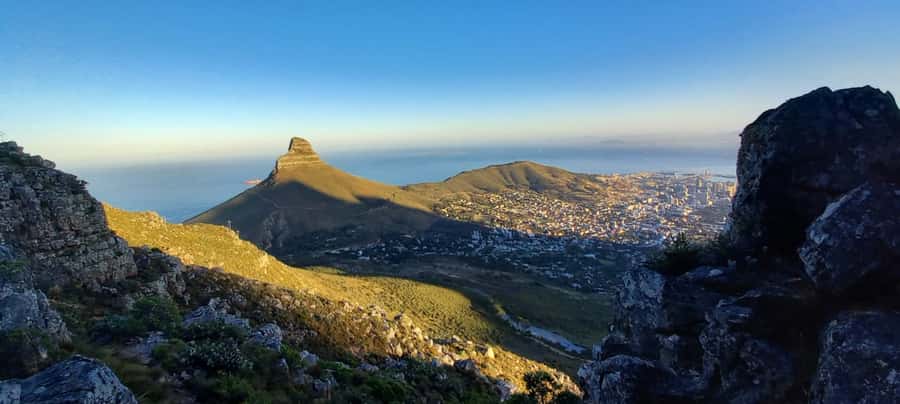
This is also where you get your early big-city geography fix. From here, you can enjoy views over Cape Town, plus landmarks including Lion’s Head and Signal Hill. If you are the type who likes to orient yourself on a map while you walk, this is a great time to get your bearings fast.
From the contour path, the route splits. You cross over it and head right up low rock steps to a platform along the buttress skyline. That section is short but meaningful, because it leads directly into the signature photo moment.
The Venster Window and the India Venster Photo Stop
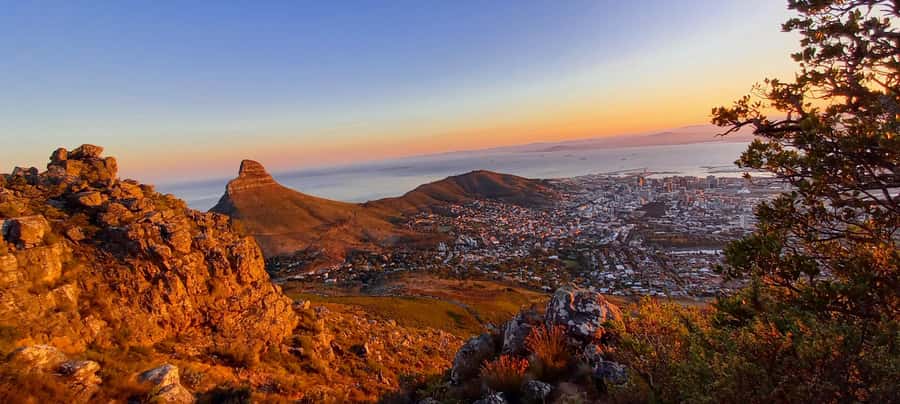
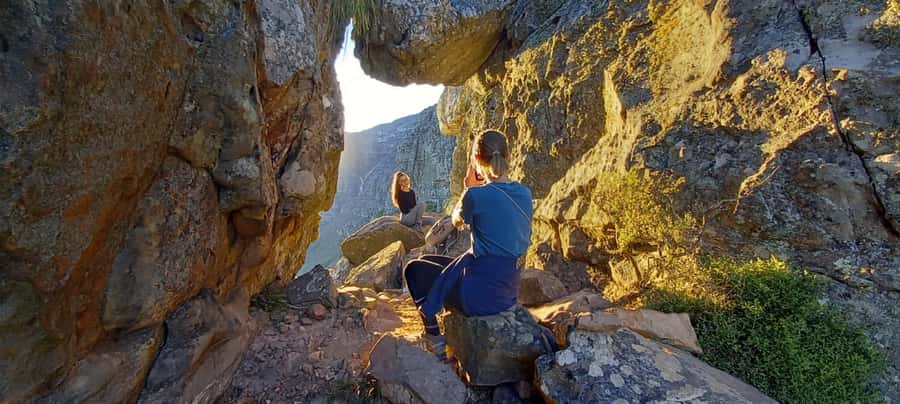
Here is the moment you came for: the Venster window (the “Venster” rock formation) on your left in the gully. You will spot it a little way up, and it is treated as a dedicated photo stop.
What I like about this stop is that it is not just a random look. It is tied to how you move through the terrain. The window is framed by the rock gully, so your photos actually show the route context, not just a face of stone.
After the photo stop at India Venster, you continue back up the gully to the main path. Then you go off over the top of the lower Venster buttress. This is one of those sections where you feel the mountain open up behind you.
From this point, you can take in views of the upper part of the hike ahead, plus distant sights including Robben Island and far up the west coast. If you enjoy seeing how the next stretch connects, you will probably feel extra motivated here.
More trails, from short climbs to full traverses
Tackling the Amphitheater Base: Scrambling, Pitches, and Chains
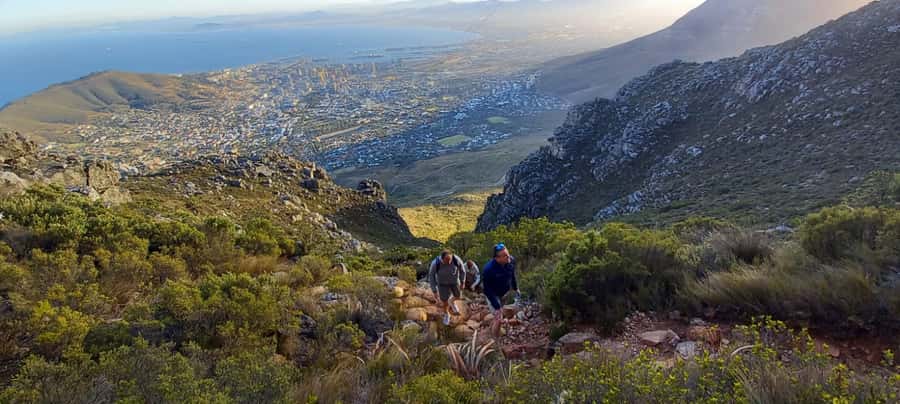
Next, your path follows along and traverses the base of the amphitheater. This is where the hike becomes more technical. Expect moderate scrambling and climbing, with a few rock pitches that test balance and careful foot placement.
This is also where support hardware shows up. You will climb those pitches using many staples and chains. That does not mean it is a walk in the park, but it does mean you are not guessing your way across exposed steps.
After the pitches, you come out to a small gully and then into a boulder field. At that point, you are not just aiming for “somewhere up there.” You will pick up the cairns across the boulders to stay on route. Cairns are small, but they are a big deal on rocky ground, and the guide’s help keeps you from wandering.
If you have a fear of heights, this is the stage where that fear is most likely to matter. The route includes exposed terrain elements, and the best way to handle it is to trust your footing and use the handholds the route provides.
Biltong Break on the Grassy Terrace
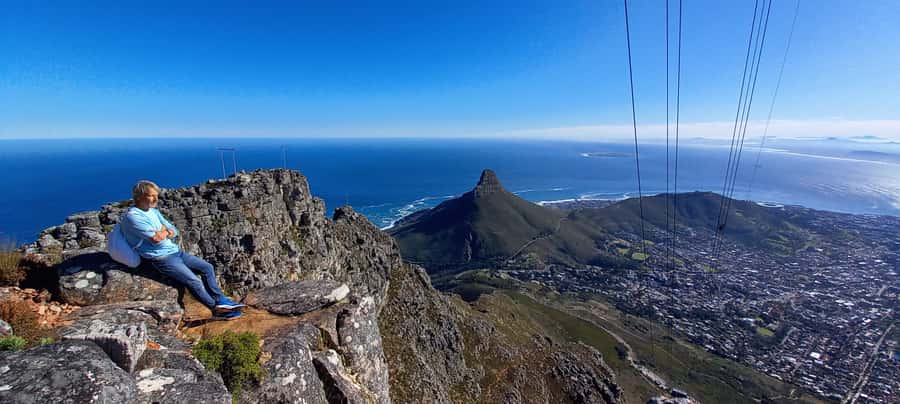
Eventually, the boulder crossing leads you to a grassy terrace. This is your break point, and it includes biltong, a classic South African snack.
I like that this break is not tacked on randomly. By the time you reach the terrace, you have already done the hardest technical movement. So the break feels like a reward, not a detour.
This part also helps you reset for the final push. You will be able to refuel and check your energy before you head into the last section, which is still a climb even if the most technical bits may be behind you.
Final Ledge Views and the Last Ascent to the Plateau
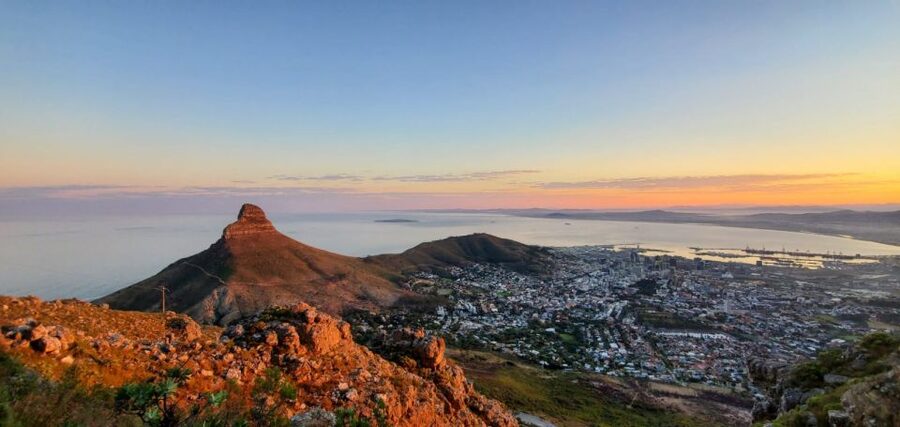
After the biltong break, the path veers to the left into the shade of the mountain. From there, you follow a ledge that grants amazing views out toward the Atlantic.
This is a nice contrast to earlier views. At this stage, you are not only looking at Cape Town’s city geometry. You are looking outward to the coast and the open horizon. If you like coastal light, this late-morning viewpoint can be especially satisfying.
Then comes the final stretch up to the Table Mountain plateau. The payoff is described as the most incredible views of your morning hike. That makes sense because plateau terrain tends to open the scene, and your eyes can take in both near details and far distance in one sweep.
When you arrive at the plateau, you usually get enough time to take photos, soak up the views, and feel like you actually “arrived,” not just passed through.
Cable Car Down: Quick, Practical, and Not Included
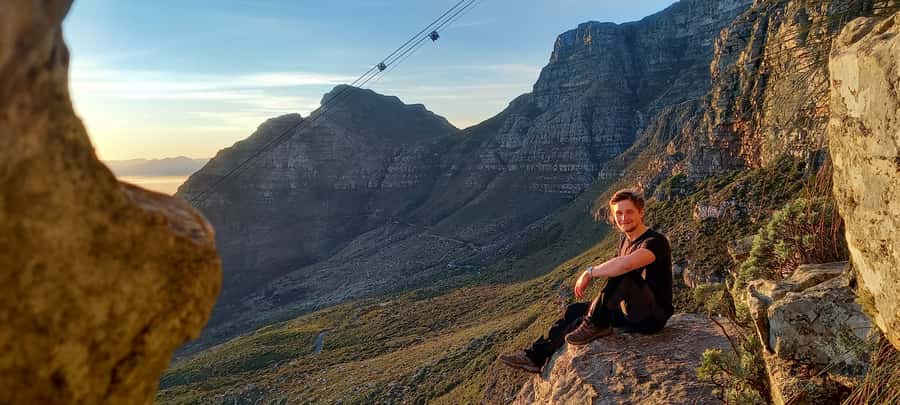
After the hike, you use the cable car for the descent. The ride is short, about 4 minutes.
The cable car ticket for the way down is not included in the hike price. You pay R 280 per person, and you should bring cash or credit cards since you will need to purchase it on the day.
One more practical note: the tour information also says guests must have sufficient stamina to hike down if required. That is not something you want to bet on, but it is good to know you are not totally dependent on the cable car schedule.
What You Get for the $110 Price
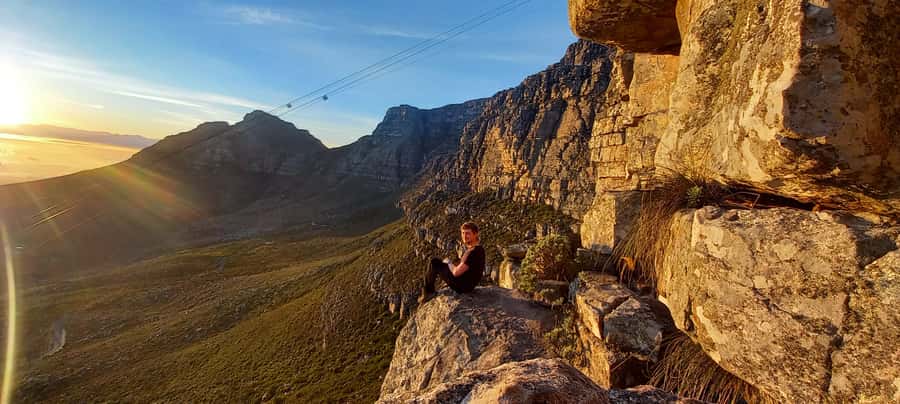
At around $110 per person, this hike sits in the “value if you want a real challenge” category rather than the “cheap sightseeing option” category.
Here is what you are paying for that actually matters on the mountain:
- A registered hiking tour guide with 15+ years of experience
- A guided route that includes technical sections with staples and chains
- Photos and videos, plus a guide who helps capture the signature photo moment at India Venster
- A first aid kit in case anything goes wrong on a steep route
- Optional hotel pickup and drop-off when that option is selected
Also, the structure is well paced. You get a safety briefing at the start, a guided hiking block of about 3.5 hours, plus a break of around 30 minutes. That is enough time for the views and scrambling to feel substantial, but not so long that you are dragging yourself home.
Not included: cable car ticket down and drinks. You are expected to bring water and snacks, and you should plan for biltong being provided at the break, not replacing all your food needs.
Gear and Safety: What Really Matters on This Route
The kit list is straightforward, and I agree with it because the terrain makes these items practical, not optional.
Bring:
- Comfortable shoes with solid grip (hiking shoes are recommended)
- A windbreaker (the mountain can feel exposed)
- Sunscreen
- Water plus snacks
- Anything else you use for sun and comfort
Do not bring:
- Luggage or large bags
- Drones
- Slippers
Safety and suitability notes you should take seriously:
- The hike may not be suitable if you have had knee or hip replacement surgery
- It may not suit people with back problems, heart problems, respiratory issues, or low fitness
- It is not recommended for people with mobility impairments
- Children under 12 are not suitable
- If you are afraid of heights, you should think hard before booking
One very practical “check before you go” point: the guide may contact you the day before if the weather forecast is not suitable for hiking on Table Mountain. If you book within 24 hours, you should check the forecast yourself too.
Who Should Book This Table Mountain Scramble, and Who Should Skip
This is a great match for you if:
- You want Table Mountain views but also want scrambling and climbing that feels like an actual hike, not a boardwalk
- You enjoy learning about local plants, since the route includes Table Mountain flora and a focus on the Fynbos biome unique to Southwestern South Africa
- You want a guide who can explain what you are seeing and support you through the technical bits
It may not be a great match if:
- You are recovering from knee or hip replacement, or you have strong stability issues
- You are prone to panic with heights
- You have respiratory or heart concerns
- You are expecting an easy, mostly flat walk
If you are unsure about your stamina, a good rule is: can you comfortably handle going up, then coming down if needed? The hike information explicitly notes guests must have sufficient stamina to hike down if required.
Should You Book the Cape Town India Venster Morning Hike?
Book it if you want the best kind of Table Mountain morning, the kind where the “famous view” also comes with effort, structure, and a guide who points out what is happening in the rocks and plants. The India Venster window photo stop, the Fynbos-focused education, and the combination of views from Cape Town to Robben Island to the west coast are the big wins.
Skip it if you want a low-stress experience. This route is technically demanding in spots, and the first steep stretch sets the tone. Bring the right shoes, come with realistic expectations, and treat the scrambling parts as the main event, not a side note.
If that sounds like your kind of morning, Cape Escape Tours is likely a good fit, especially if you prefer small group or private formats and you value a guide like Patrick who helps you read the mountain as you climb.
FAQ
How long is the Table Mountain hike via India Venster?
The hike duration is about 3.5 to 4 hours.
How much does the tour cost?
The price is listed as $110 per person.
Where do I meet the guide for this hike?
The guide waits at the Table Mountain lower cable car station at the Vida e Caffè store.
Is cable car included?
The cable car ride down is included, but the ticket price for the way down is not included. The cable car ticket is R 280 per person.
Do I get hotel pickup and drop-off?
Hotel pickup and drop-off is available when you select the option.
What is included in the price?
Included items are hotel pickup and drop-off when selected, a first aid kit, a registered hiking tour guide, and photos and videos.
What should I bring with me?
Bring comfortable shoes (hiking shoes are recommended), a windbreaker, sunscreen, water, and snacks.
Is this hike suitable for kids?
No. It is not suitable for children under 12.
What fitness level do I need?
You need sufficient stamina for hiking, and it may not be suitable for low fitness. It also notes it may not be suitable for people with certain knee, hip, mobility, heart, respiratory, or back conditions.
What languages are available for the guide?
The tour guide is available in English and French.
Trails Worth Walking in Cape Town
Table Mountain, More Ways Up
Keep going: the rest of our Cape Town write-ups
- Cape Town to Cape Point Helicopter Flight – 48Min
★ 4.2 · 3 reviews - Full Day Private Hiking Table Mountain & City
★ 5.0 · 3 reviews - Sandboarding with jeep – drive uphill
★ 5.0 · 3 reviews - Full Day Tour for Cape of Good Hope & Boat to Seals Island
★ 5.0 · 3 reviews - 10 Day South Africa Tour Joburg to Cape Town
★ 5.0 · 3 reviews - 5 Day Garden Route Small Group Tour Fr CapeTown – Departs Mondays
★ 5.0 · 3 reviews
Table Mountain Tours, compared.
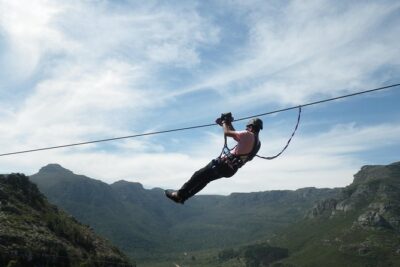 ★ 5.0Zipline Cape Town – From Foot of Table Mountain ReserveFrom $493,179 reviews
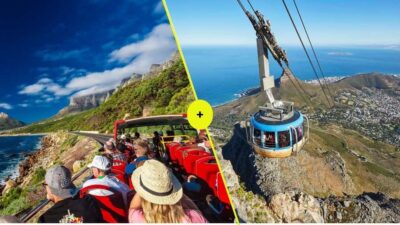 ★ 4.6Cape Town: Table Mountain Cable Car, Hop-On Hop-Off Bus TourFrom $453,157 reviews
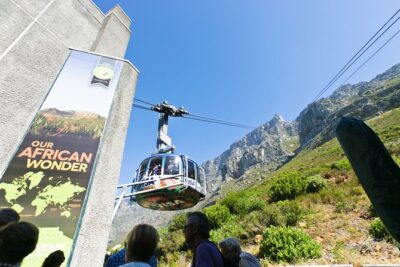 ★ 4.5Table Mountain, Penguins & Cape Point Small Group Tour Cape TownFrom $621,797 reviews
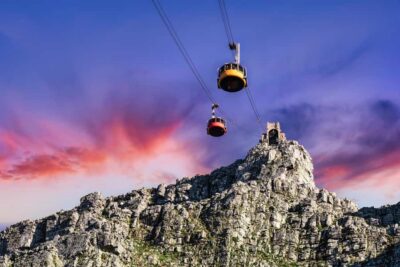 ★ 4.7Cape Town Tour: Table Mountain, Penguins & Cape Point+PickupFrom $651,671 reviews
 ★ 4.9Cape Town: Table Mountain, Cape Point, & Penguins Group TourFrom $621,063 reviews
 ★ 4.9Cape Town: Table Mountain Hike with an Expert GuideFrom $60666 reviews
 ★ 4.8Cape Town: Table Mountain & Cape of Good Hope Full-Day TourFrom $54526 reviews
 ★ 5.0From Cape Town: Table Mountain, Cape of Good Hope & Penguins including Park FeesFrom $284399 reviews
Browse the lists this tour appears in